How to make photos at night | Nightphotography tips
The world looks so much different at night. You can see the stars, cities are brightly lit, cars have their lights on. All interesting subjects which you can use for night photography. But it is a completely different way of photographing, so how to make photos at night? The main challenge when photographing at night is getting a proper exposure. You will need a tripod to stabilize your camera to make the long exposure and a lens with a low aperture. But what are the other things you have to think about to make your night photos a success? Read in this blog post all the tips about how to make photos at night.
You will learn the following:
- What do you need for night photography
- What to shoot for night photography
- How to prepare for night photography
- The best settings for night photography
- How to edit a night photo
What do you need for night photography
It’s important to be well prepared when you’re going out for night photography. Check your bags before you leave, it’s a pity when you’re driving for an hour and then realize you forgot something important, like your tripod or SD card for example… Although you won’t be the first one to forget something important.. Make sure to be as prepared as you can be with this list.
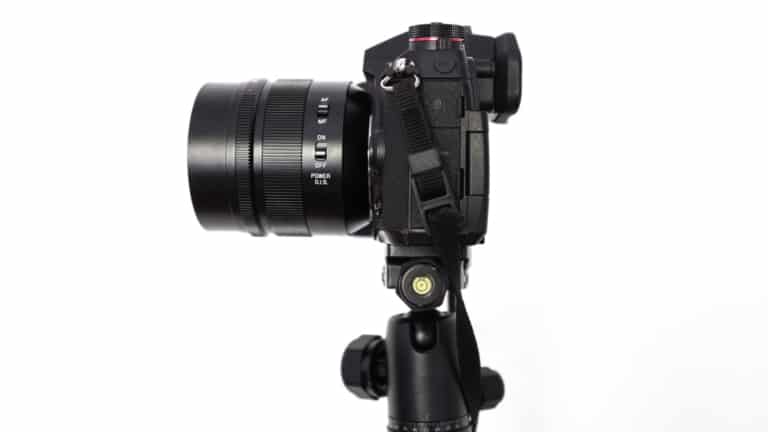
- A tripod or Gorillapod to stabilize your camera;
- Remote control or app on your phone which you can connect to your camera to click the shutter button so you don’t have to touch your camera and avoid movement during the long exposure;
- The best lens for night photography is a light-sensitive lens, aperture F1.6 or lower will do best especially for star photography;
- The best camera for night photography is a Canon 5D Mark3, Sony A7S or the Nikon D810. All full-frame DSLR cameras. But of course you can also make stunning photo’s at night with a Micro Fourth Third camera as we have, the Panasonic G9.
- Don’t forget a flashlight (or use the one on your phone), so you can find the things you need in your backpack.
What to shoot for night photography
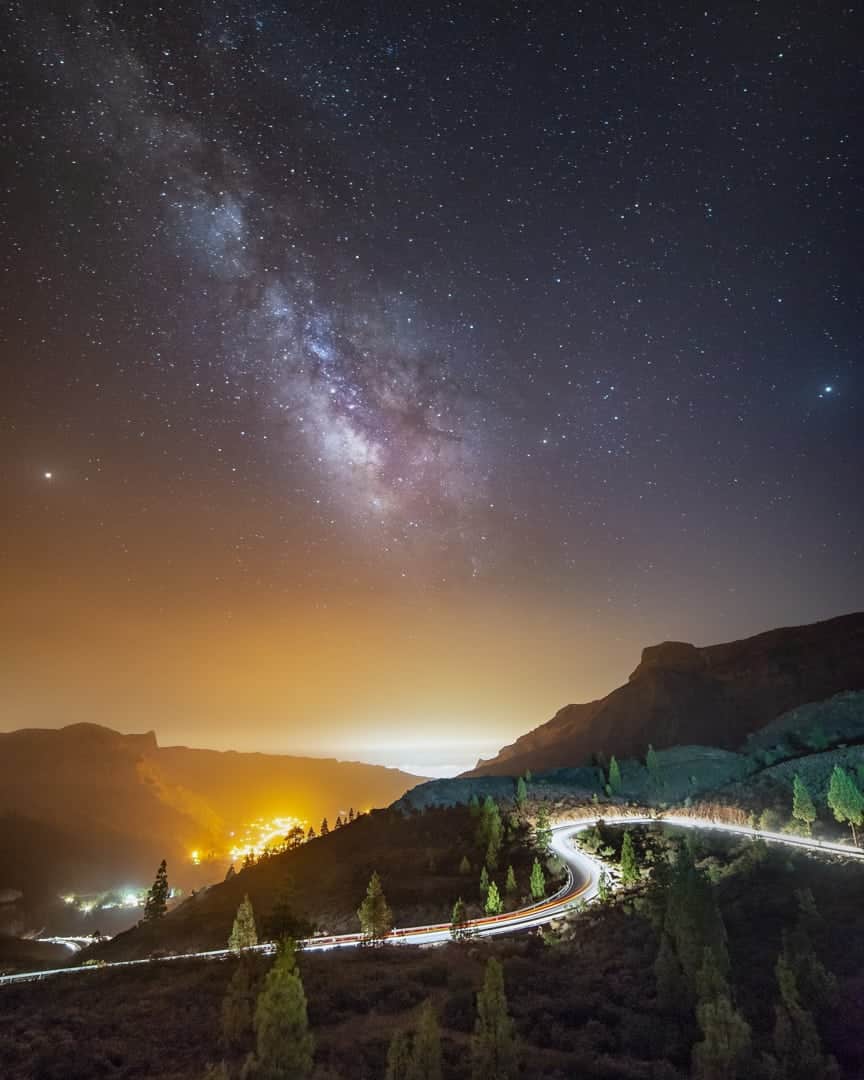
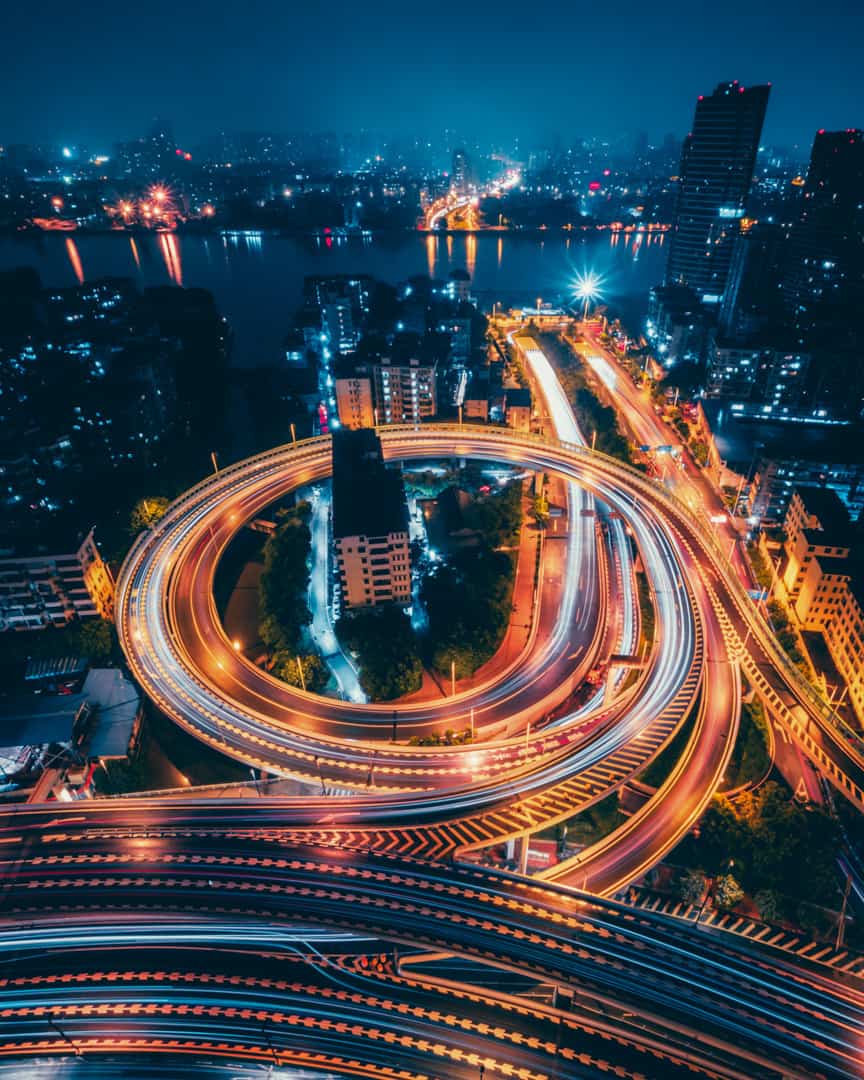
There are many options on how to make photos at night. Mostly there is light involved to give a great contrast with the dark night sky. You can play with the lights of passing cars, or a city which is illuminated. Or when you’re as interested as Ilse in the stars, you will find a new hobby in photographing the stars or the moon. Below you will find some possibilities to shoot at night, but when you’re creative there are many more things to be photographed at night!
- City skyline
- A bridge which is illuminated to achieve smooth water in combination with the reflections of the light in the water
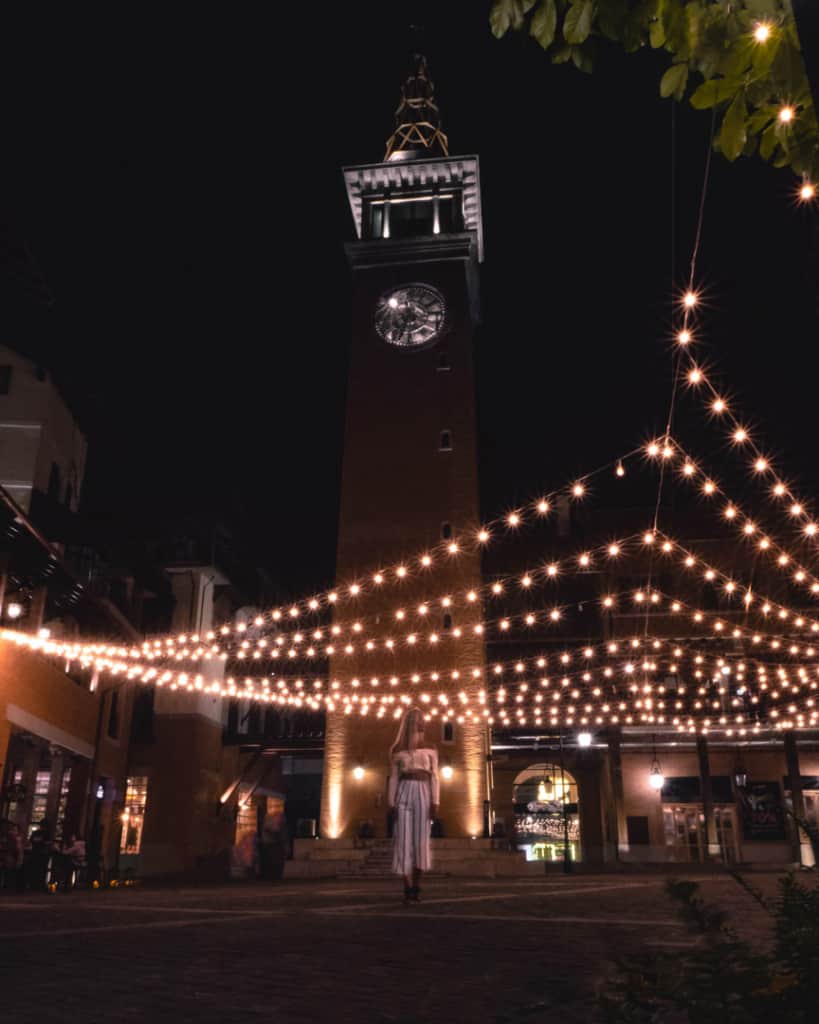
- Changing light sources into stars
- Fountains
- Illuminated museums and public buildings
- The stars in a national park
- Light trails of passing cars near a busy road

How to prepare for night photography
Do you know the saying “Give me six hours to chop down a tree and I will spend the first four sharpening the axe”? For night photography it kind of is like that, in combination with a lot of patience you need to have while taking photos at night. If you’re planning to make photos of the Milky Way, you need to know when and where it’s visible. You also need the right gear, lenses and weather conditions. All things you can prepare or be prepared for, so take your time for all the preparations!
- Make sure your batteries are fully charged and you have a reserve battery with you;
- Enough memory card space;
- A lens hood. When you’re going to a city you’ll have bright lights coming at you from different directions. Such as street light or neon light;
- Switch off Image Stabilization of your lens when shooting on your tripod;
- Play around with your white balance to make the photo look warmer or cooler;
- Do test shots! Don’t start shooting right away. Always do some test shots to ensure you are getting the right framing, composition, shutter speed, exposure and focus;
- Last but not least, make sure your lens is clean. Nothing so annoying to see your photos on big screen and find out that there were some dirt spots on your lens… Takes extra time in the post-production
Make test shots to find the best framing, composition, shutter speed and focus
The best settings for night photography
The settings you need depends on the result you want to achieve. To photograph the stars you’ll need other settings than when you’re going to photograph a city by night. Most important is that you understand how to shoot a long exposure picture.
Below are the most common settings to start with. Of course, you have to find out during shooting what works the best for the specific situation you are in.
- Put your camera in Manual Mode and make sure you shoot your pictures RAW.
- Start with a low ISO, depending on how much light there is. For star photography, you will need to set your ISO up to 1600 or more. Just play around with the other settings during your test shots and find out what works the best for you.
- For crispy night photos, you need a lens with a low F stop. For star photography, you have to set your aperture as low (wide) as possible because you need as much as possible light coming into the sensor. But when photographing in a city, and your goal is to change light sources into stars, you’ll need to close your aperture. However, it also depends on which shutter speed you are going to use!
- To know which shutter speed you need, first you have to try different settings. When capturing light trails from cars your shutter speed will need to be at least 6 to 15 seconds. It depends how long the road is and if there are traffic lights involved in combination with the timing right when you press the shutter button. When photographing the stars, you can nail a shot almost every time with a shutter speed of 5-20 seconds. Any more time will start to show star trails.
- Focus manually is the way to go for night photography. Since the surroundings are dark, your camera is simply not able to get a sharp focus as it struggles to find a reference point.

How to edit a night photo
First of all, make sure the photo you choose to edit is in focus. Check the white balance and change it if necessary. Use noise reduction under the detail section to reduce any unwanted “noise”. If you have any parts in your photo which are overexposed, you can use a gradient filter to make it more in balance. If the picture is a bit too dark then boost the exposure up by a stop or more. Bring down the highlights where necessary, especially with light sources from city lights.
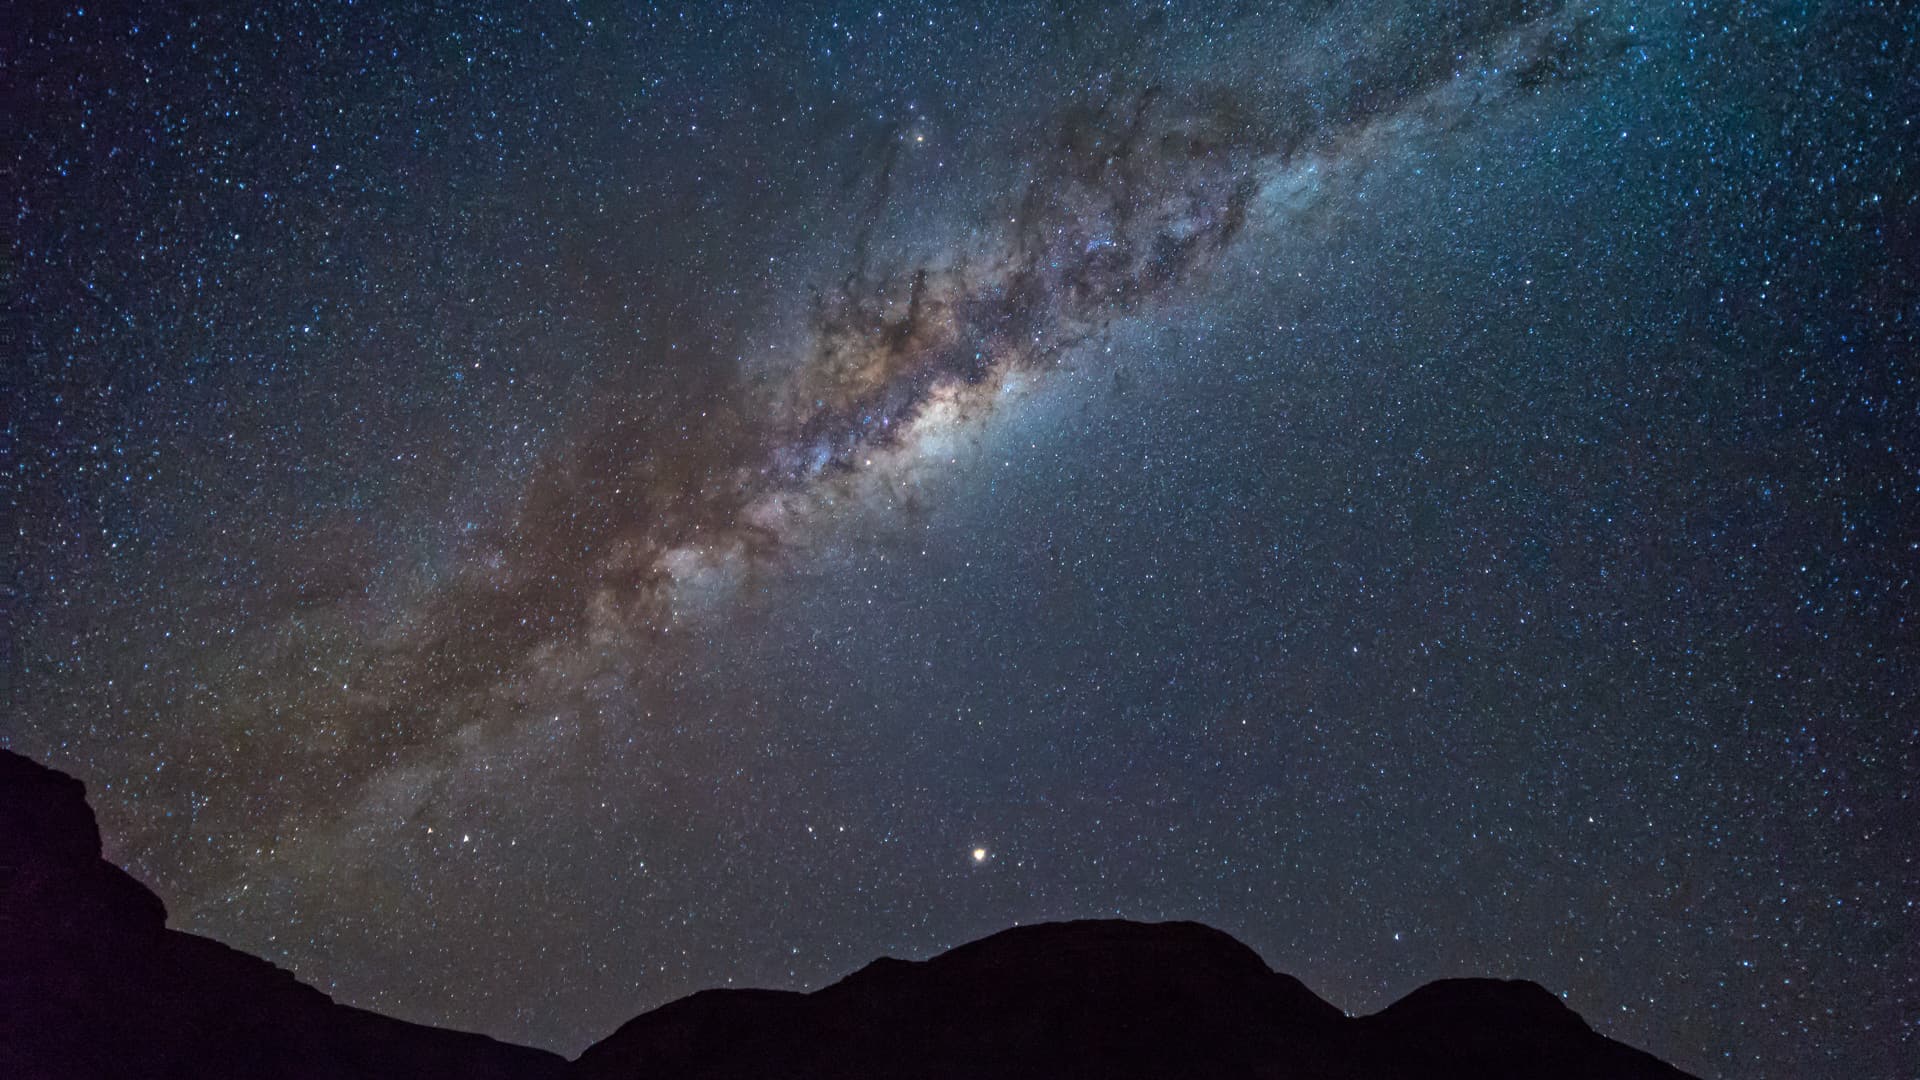
With star photography, you better can start in Lightroom for the basic edit settings. Go to lens corrections – defringe and change the slider of purple to the right if the stars have a little bit too much of a purple tone. Bump up the whites and bring down the blacks if you really want to make the stars stand out of the sky. Push the clarity up and reduce the highlights if you want to define the stars against the sky and make them crispy. We would advise you to change the colors in Photoshop because this will give you a more detailed feeling. Export your Lightroom picture as original and open it with Photoshop. Go to the menu image and click HDR toning, and see the magic happen in front of your eyes. After this, you can change the colors or other settings. Below you will see the RAW and edited picture of the milky way which I shot in Amed, Bali. The lens I used was the 16mm F1.4 Sigma with the Panasonic G9 camera and a shutter speed of 5 seconds.


We hope you learned a lot more about how to make photos at night. If you have any questions considering this subject, don’t hesitate to ask them in the comments.
Learn more about photography through these blog posts:


This post may contain affiliate links
We hope this guide will help you plan your travels! If you consider booking your accommodation, tours or rental car via our affiliate links, you support this blog because we earn a small commission at no additional cost to you!