HOW TO MAKE a TIME LAPSE in PREMIERE PRO
Creating a time lapse video is a time consuming process but very satisfying to do when you see the the end result. Before you learn how to make a time lapse in Premiere Pro you first need to know how to shoot a time lapse with your camera. In our other blog HOW TO MAKE A TIME LAPSE VIDEO you will read how to do this. After making all the still photos with your digital camera or Apple iPhone, you need to edit the time lapse video. For the editing process you have to decide which software program you want to use for this. There are both free versions and fully featured paid options like Adobe Premiere Pro, which we use to create a video clip. You can decide what works best for you, but we recommend the Adobe package because it also includes Lightroom to edit your photos, and Premiere Pro for your video editing. Read and learn in this article everything about how to make a time lapse in Premiere Pro!
How to make a time lapse?
Before we answer the question of how to make a time lapse in Premiere Pro, you need to tweak the colors of your photos in Lightroom. That’s why it is so important to shoot your time lapse photos in RAW. If you want to learn more about how to make a time lapse, read this blog post.
Step 1: Edit your photos in Lightroom
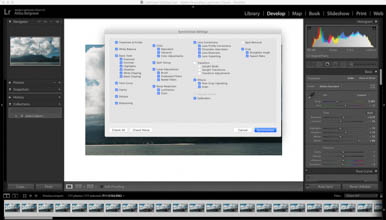
Open Lightroom and import all your photos from the time lapse. Edit one photo and decide which ratio you want to export your photos. Mostly it’s 16:9 ratio, so make sure you reposition the photo you are editing in this crop. Now you want to synchronize the settings of the edited photo. Select all the images with CRTL + A (for the Mac users COMMAND + A) and press the Sync button on the right bottom. Click on “check all” and then synchronize. Now Lightroom will apply all the settings on the whole sequence very fast.
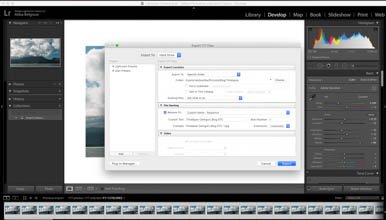
After that, it’s time to export the frames as JPEG and make a video of it in Premiere Pro! Click on File – Export and choose the option Filename sequence at the File Naming tab. Now all your photos of the time lapse will be sequential numbered what makes it more easy to create them into one video file. After exporting them in a New Folder you can import them easily in Premiere Pro.
Always make sure you shoot your time-lapse photos in RAW so you change and edit the colors more easily in Lightroom
Step 2: Import and organize in Adobe Premiere Pro
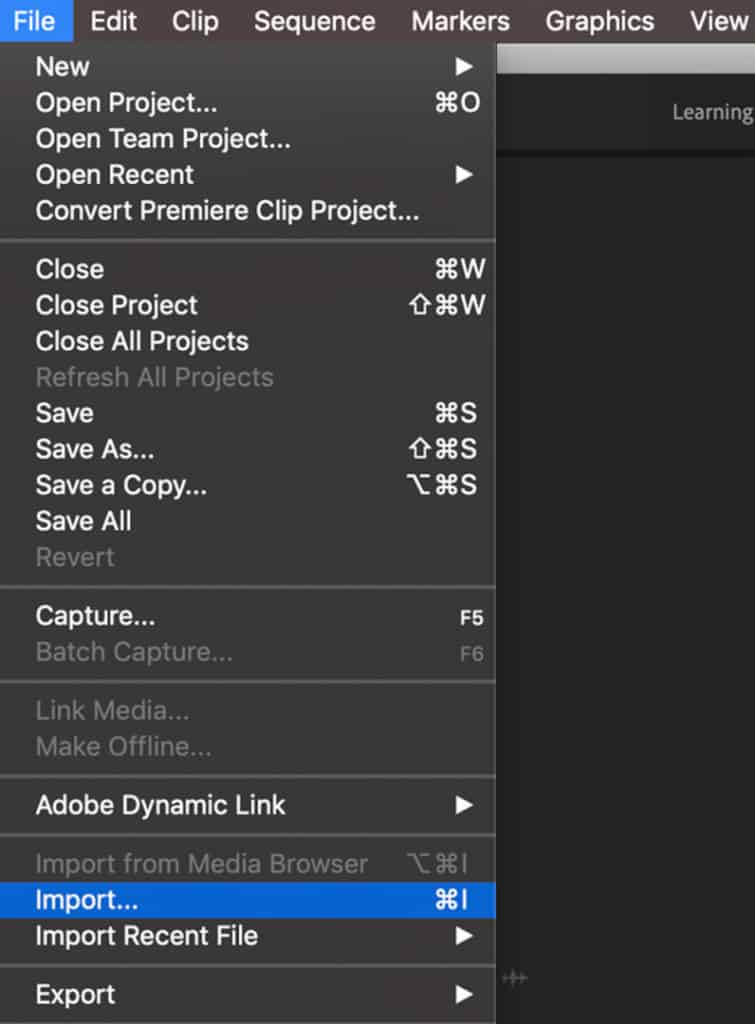
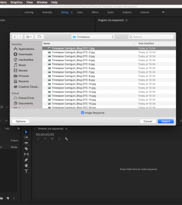
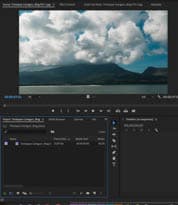
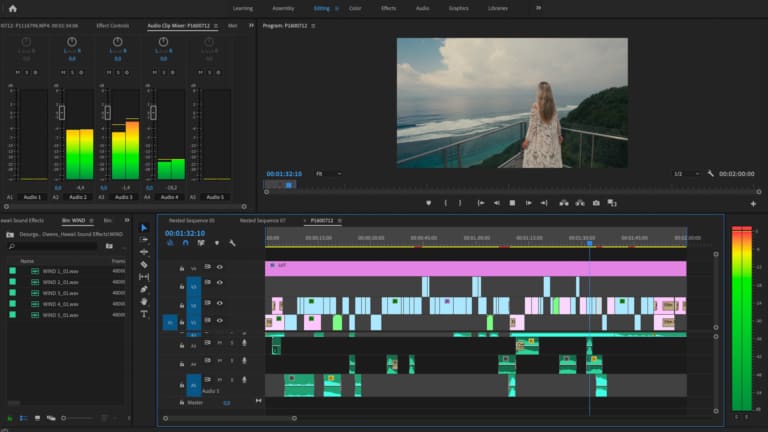
Import all your edited photos in Adobe Premiere Pro and organize them in your new project. Because you’ve exported the photos as a sequence, Premiere Pro will import them as a video file when you’ll follow the next steps; click File > Import. Then select only the first file (1) of the photo sequence and select “options in the “import” window. Next, you will see “Image Sequence” appear which you have to select.
When it’s not possible to select “Image Sequence” you must have selected more photos instead of only the first one!
Thereafter, select import and Premiere Pro will convert the images into a video file in your Project window. How convenient is that!
Step 3: Adjust your video frame rate
After importing you can play the video file in Premiere Pro to see how your photos will come alive in a video time lapse! If you need to adjust the video frame rate of your time lapse in Premiere Pro, because it will be part of for example a travel film, please note the following actions. Often, the base video sequence is created in 25fps or 23,976 fps (24fps). It depends on which frame rate you have set as standard sequence setting.
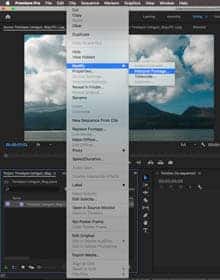
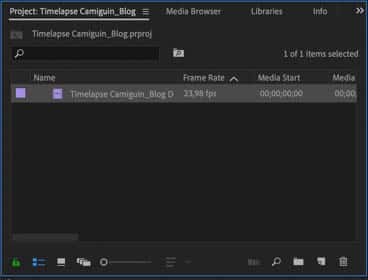
To change the frame rate, follow the next steps; First, right-click the time-lapse video file in your project window and select “Modify >Interpret footage”. Next up you can change the frame rate to the desired fps by selecting and changing the field “Assume this frame rate”. Final you select “ok”. You will see the new fps under the frame rate in your project window.
Step 4: How to edit the speed of a time lapse in Premiere Pro
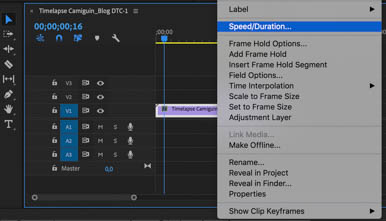
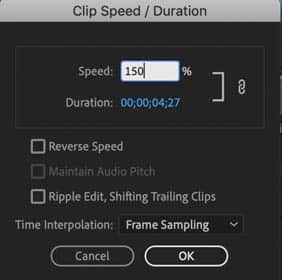
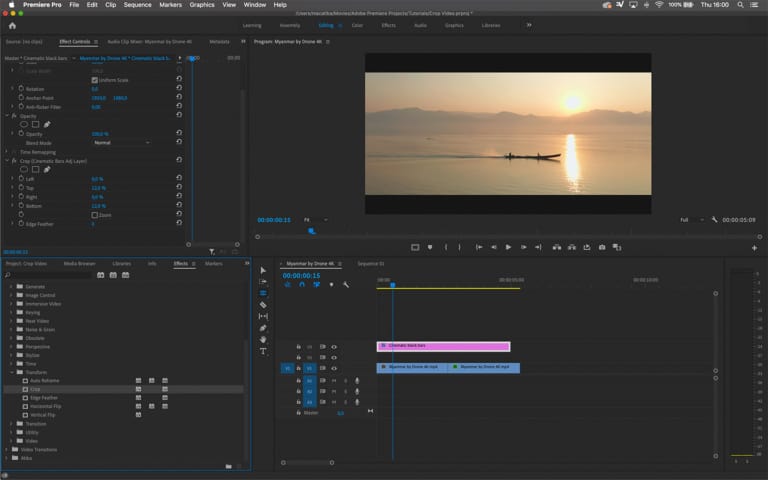
Now you have your time lapse file in the right frame rate drag it in your video timeline. If you want to shorten or adjust the duration of the clip, this is where to do that. Sometimes you want to speed it up because you’ve made too many photos and the time is lapsing too slow or you just want to speed it up because it’s matching better with your edit. By doing so you have to “right click” the video file in the timeline and select “speed/duration”. Next, adjust the speed by changing the percentage. A percentage higher than 100% will speed it up and lower than 100% will slow it down.
Step 5: Select good music for the time-lapse
Music is very important while editing a video to create the right atmosphere and bring it to the next level. There are free download possibilities like Musicbed, Artlist and Soundcloud. Simply drag the music you choose into your project files. Then you can cut the music exactly on the parts you wish to use. We can go very deep into this subject because there are many more possibilities to fade the music and add video effects. Interested to learn more about that? Read our blog post about “How to edit background music to video in Premiere Pro”
Step 6: Export your video time lapse in Premiere Pro
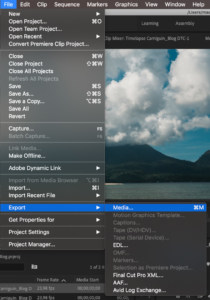
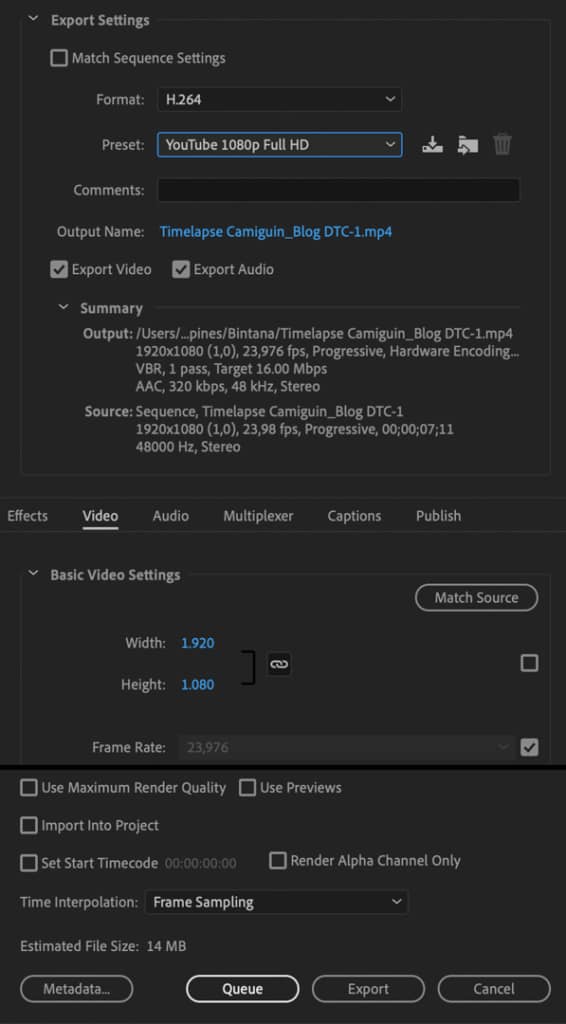
The last step is to export the video sequence in a video file to upload it on Youtube or somewhere else. To do so click; File > export >media. Then adjust the export settings to the output you want and select the” Output name” to change the destination folder. Hit “export” and wait till you final time-lapse video is ready!
Step 7: Share your time lapse video
These days a lot of people share great content on social media. A great way to get a lot of views on your Instagram or Facebook feed is to post a time lapse video. The great motion in it will attract people their attention to create time watching it! Especially time lapse videos where your audience will see a lot happing as time goes by, doing very well. We definitely recommend to share your time lapse videos on social media and tag us @digitaltravelcouple to let us know if you’ve read this post!
We hope you can edit your own time lapse video now and we’d love to see the results! Share the link to your video in the comments and we’ll definitely check it out and give you some feedback!
Do you need more information about Time Lapses? Read our other blog!

The easiest way is to right click in the project manager, choose Import and browse to the folder where the whole sequence is located. Select the first frame of the time lapse, then tick the Image Sequence box and click OK.
Yes right click is a bit faster than going through the menu! And you are right concerning the image sequence as I wrote down in step 2! 🙂