DRONE VIDEOGRAPHY TIPS l The Complete Guide
Drone videography, also called aerial cinematography, has become very popular in the past years. Where in the past it was only possible to create stunning aerial footage with a helicopter, now drones are the number one film tool to use for this. There are many advantages of drone videography. Drones are small, easy to use and way less expensive to purchase. They’re quite easy to operate and with the great range of available drones, you have many options to pick the right fit for your needs. The camera quality of recreational drones is so high these days that it’s being used for professional drone videography productions. And even when you need high-end equipment, there are professional drones available to attach professional cinema cameras.
If you are looking for the best drone to purchase, read my other blog about the best drones for filmmaking. But in this article, I share everything you need to know about drone cinematography with my best drone videography tips.
Personal experience learning drone videography
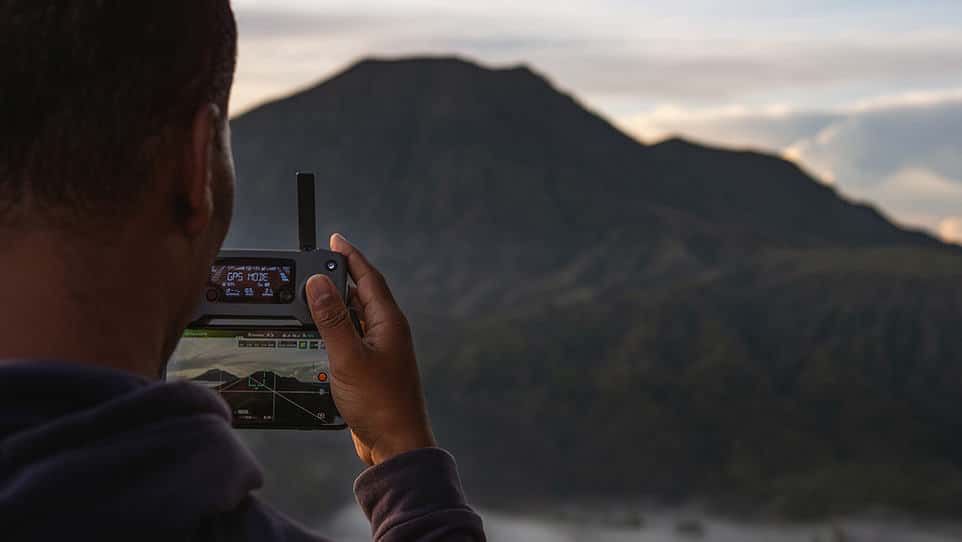
As a travel filmmaker, I’ve gained a lot of experience in aerial videography over the past three years. Besides flying my drone for photography it has become a passion for me to create aerial cinematic footage. I love to create stunning drone shots for my travel films and also produce aerial videos. Aerial footage adds so much value to my films in the way I want to tell my story. It gives my audience a great perspective of the locations I show in my films. From a filmmaker’s point of view, drone videography also results in more technical possibilities to select my shots.
During the past three years I’ve made a lot of mistakes learning drone videography. Because of that, I gained a lot of knowledge in what the best way is to use your drone for aerial cinematography. In this article, I will share some of the most important drone videography tips I think you need to know to create professional aerial footage. These tips will help you to become a better drone videographer.
1. Understand videography before you start with drone videography
Of course, it’s key to learn how to fly a drone when you decide to use on for your videos. Most of the time skilled filmmakers or videographers decide to purchase a drone for the videography and only need to learn how to fly a drone and what kind of shots you can make with a drone. Especially when drones became available for the commercial market a lot of videographers added a drone to their film gear. In my case, my first professional video gear was a drone, the DJI Phantom 4 Pro before I got fully into filmmaking. So if you are a newbie into videography or filmmaking, you definitely can start with a drone. But soon you’ll realize you can’t tell a complete story with only a drone. Unless you only want to create aerial films.
How to learn videography and understand the basic rules for filmmaking?
So how to learn videography and understand the basic rules for filmmaking before you start flying your drone? On YouTube, there are a lot of tutorials available that provide you the basic information for filmmaking. I’m sure you can find there a lot of information you questioning yourself when starting as a beginner videographer or filmmaker. I did the same but after weeks of searching tutorials, it was really hard to find the right information and even more important, in the right order.
Follow an online school: Full Time Filmmaker
Because I was convinced to become a filmmaker from the very first moment I started, I decided to invest in an online film school to learn all the rules and basics of videography. I was so happy to discover the online film school Full Time Filmmaker from Videographer and YouTuber Parker Walbeck. After watching a lot of his work and free tutorials on YouTube I was convinced his school would be the right fit for me in that stage. The price of 799 dollars was a big investment for me but I never regretted it.
From the very first lessons, I discovered how much value Full Time Filmmaker would give me in growing my skills and understanding videography. The great thing about this online film school is the diversity in lessons and skill level. You can start as an absolute newbie and learn your way up to a professional producing high quality looking videos.

Full Time Filmmaker has so many topics available I only finished 53% of it
The name of this film-school says it all, after completing this course you are ready to start a career as a Full Time Filmmaker. Of course, this all depends on your own motivation and determination to grow and practice A LOT. Watching the lessons is the first thing you need to start with but executing the information in practice makes you understand how to do it. It also covers several lessons (7 courses) about drone video videography. You will learn how to set up your drone to produce cinematic footage and the kind of drone movements you can use for that. A great add are the lessons about color grading as this requires a lot of knowledge to correct and grade this in a cinematic way.
So if you are convinced to invest $799 in yourself to grow in videography I surely recommend having a look at Full Time Filmmaker. I’m still going through the courses of this online film school because it offers so many topics. Because I’m so convinced and enthusiastic this course will help you to become an all-round videographer I asked Full Time Filmmaker for an affiliate link. So if you are interested to discover more of Full Time Filmmaker follow this link HERE. It would be awesome if you use this link once you decide to purchase the full school or one of the other courses they provide. In this way, you can support our blog so we can continue writing more articles like these.
2. Adjust your gimbal and drone videography settings
These days it’s very hard to buy a “bad” drone. Of course, it all depends on your budget and the purpose you want to use a drone for, but especially for drone videography you mostly end up with a model from DJI. I’m not sponsored by DJI (unfortunately) and only have a lot of experience with as well the DJI Mavic 2 Pro and DJI Phantom 4 Pro However, it is easy to understand from all available reviews, DJI offers the most complete and reliable package to do the job. As mentioned before, I’ve written a whole article about which drone is the best for filmmaking these days, so check it out HERE if you need more information about purchasing your next drone.
Whatever drone you own, to produce smooth cinematic shots with drone videography it’s key to optimize the drone settings. The gimbal settings of your drone are adjustable in speed and smoothness. You want your gimbal to stop slowly when you release the controller button to tilt up and down slowly when you give input to it. For my gimbal settings for the DJI Mavic 2 Pro see the image below.

You also want your drone to fly smoothly when you give throttle input or fly left or right. This you can adjust with the EXP settings. With these settings, you can change how the drone interprets your controller stick movements. To create cinematic drone shots you want your drone to react smooth and slowly when moving the sticks a little bit. You don’t want it to react aggressively unless you need to have a drone moving fast from point to point in case you record high action scenes or track subjects that changing direction quickly. For my EXP settings for the DJI Mavic 2 Pro see the image below.

Another settings section you might want to adjust are the sensitivity settings of your drone. These settings affect the smoothness of your drone when flying and releasing the stick input. There are three available settings here:
1. Attitude sensitivity is how quickly your drone responds to controller input.
2. Brake sensitivity is how quickly the drone comes to a stop after you release the control sticks. To get more cinematic shots, you want to decrease the brake sensitivity. This will make your drone gradually drifts to a stop and prevents nervous camera movements.
3. Yaw movement limit is how rapidly your drone will rotate left or rotate right. This translates into panning movements in the camera. Like every other cinematic video setting for your drone, you want these reacting slow and smooth to your stick input.
See the image below for my sensitivity settings.

3. Use ND Filters for your drone camera
The use of ND Filters is key to produce cinematic drone shots. The basic rule concerning frame rates and shutter speed for cinematic footage is to always keep your shutter speed double (or closest value to that) the frame rate you’re recording in. For example, when recording a frame rate of 24 fps, your shutter speed must be ideal 1/48th. Most of the time 1/50th is the closest available. So when recording 60 fps your shutter speed changes to 1/120th. This rule results in the right and realistic motion blur which is the most appealing footage for the human eye.

When filming with your drone in bright light conditions it won’t be possible to have the right exposure with only adjusting the aperture of your drone camera. I also want to mention the higher F-stop the aperture will be, the softer the image will look. For example, the Mavic 2 Pro has the best image quality with an aperture of F2.8 – F4.0. To achieve the right exposure you need ND filters to reduce the amount of light that enters the drone lens. To put it simply, they work as sunglasses for your drone and you will need them for your aerial drone videos. Another advantage of using an ND filter is to get the saturation back in your image. It will enhance the sky and reduce sunlight reflection.

To produce high-quality cinematic drone footage it’s key to use ND filters made of quality glass. I’m using the ND filters from Polarpro. PolarPro has proven to offer the highest quality ND filters for your drone. The build quality is very high and the glass is super clear without getting scratches quickly. I highly recommend using filters from PolarPro, they offer a wide range of filter sets for different drone models.
4. Record cinematic drone shots around sunrise & sunset
Light is one of the most important elements you have to be aware of when shooting drone videos. Probably 99% of the scenes you’re shooting with a drone will take place in an outside environment. Incorrect use of natural light can make your video far from attractive. So in this section, I’ll give you some of my tips & tricks to make the best use of natural light when shooting cinematic drone videos.
I love to use natural light in our videos, and the most important reason for that is because that’s the way we see things with our eyes. Also, I like to produce our travel videos as naturally as possible, and besides, it is a fun challenge to use it properly.
So how to use natural light correctly for your drone shots? There are a few factors which will affect natural light:
– Time of the day
– Camera direction
– Weather conditions
Let’s breakdown these factors to explain how they affect the natural light!
Shoot around sunrise and sunset for the best looking cinematic drone shots
You can split the time of the day in sunrise, midday, and sunset. The golden hour is the first hour during sunrise and the last hour during sunset. These are my most favorite hours to shoot in general, and also the most hectic because you’re literally chasing the light.
The sunlight is very soft compared to midday with warm and orange tones, which will make your image look beautiful. This light is the most attractive for most of the scenes, and because it’s in such a short time frame, you have to plan the scenes before you start shooting this time of the day. Shots of scenes that have been recorded during these periods of the day are perfect to use at the beginning (sunrise) and ending (sunset) of your video. A lot of our travel videos start with a great looking drone shot to establish the first scene. An establishing shot is usually a wide shot or an aerial shot that shows a lot of the setting for the context.
From my experience, the 2 hours before sunset are more usable than the 2 hours after sunrise. This because in the late afternoon, the sunlight is already less harsh and usable to shoot other scenes that can be used in the middle part of your video. The 2 hours after sunrise at some locations are still usable but are getting harsh very quickly.

Aerial videography during midday
The sun is the highest in the sky and, when it’s a bright day, causing direct downward sunlight. This will cause harsh shadows and sunlight on your subject and the colors are less saturated compared to sunrise and sunset. When I can, or when possible, I avoid shooting midday and prefer to shoot sunrise/sunset.
Camera direction
Another skill you have to manage to make the most out of natural light is the direction of your drone camera. Most of the time I point my camera directly towards the sun, so you can use it as a backlight for your subject. I love this direction because it can create great sun flares. Be aware you have to expose more on the highlights instead of the shadow. The greater the dynamic range of the drone camera, the better you can balance the exposure between the highlights and shadows.
When you can play with the sun and include it in your shots coming in and out from your subject, it will result in great-looking images. It’s so beautiful to use the sun coming through trees or when you reveal a great landscape from behind a mountain or big rock with the sunlight shining over it.
It’s beautiful and super cinematic when you try to frame your subject in that way the sun rays come from aside. The soft and golden light spreads a warm glow over the landscape or subject which looks very flattering to the eye. When it’s necessary to light your subject in the best way, I advise making an aerial shot with the sun facing on the back of your drone.

It’s beautiful to reveal a great landscape from behind a mountain with the sunlight shining on it
Natural light can be affected by the weather
The last element that effects natural light is the weather. If you’re planning to shoot during sunrise and sunset, but it’s cloudy, you won’t have the soft light and warm tones you were hoping for. And of course, it can be even worse when it’s raining, don’t fly your drone in the rain! Checking the weather forecast is essential to do before you head out to a location and wake up early for sunrise.
On the other hand, you can use cloudy weather to shoot a nice video, time- or hyper-lapse with your drone. Most of the available drones have this option installed as a recording mode. Moving elements are a great addition for a beautiful looking time-lapse. When you want to learn how to edit a time-lapse in Premiere Pro I recommend reading my FULL ARTICLE about this subject.
Watch this video for some video hyperlapse examples
5. My favorite TOP 5 aerial shots.
In this section, I’ll share with you 5 of my favorite cinematic drone shots which you can use for any video or film.

Drone shot 1: The Flyby
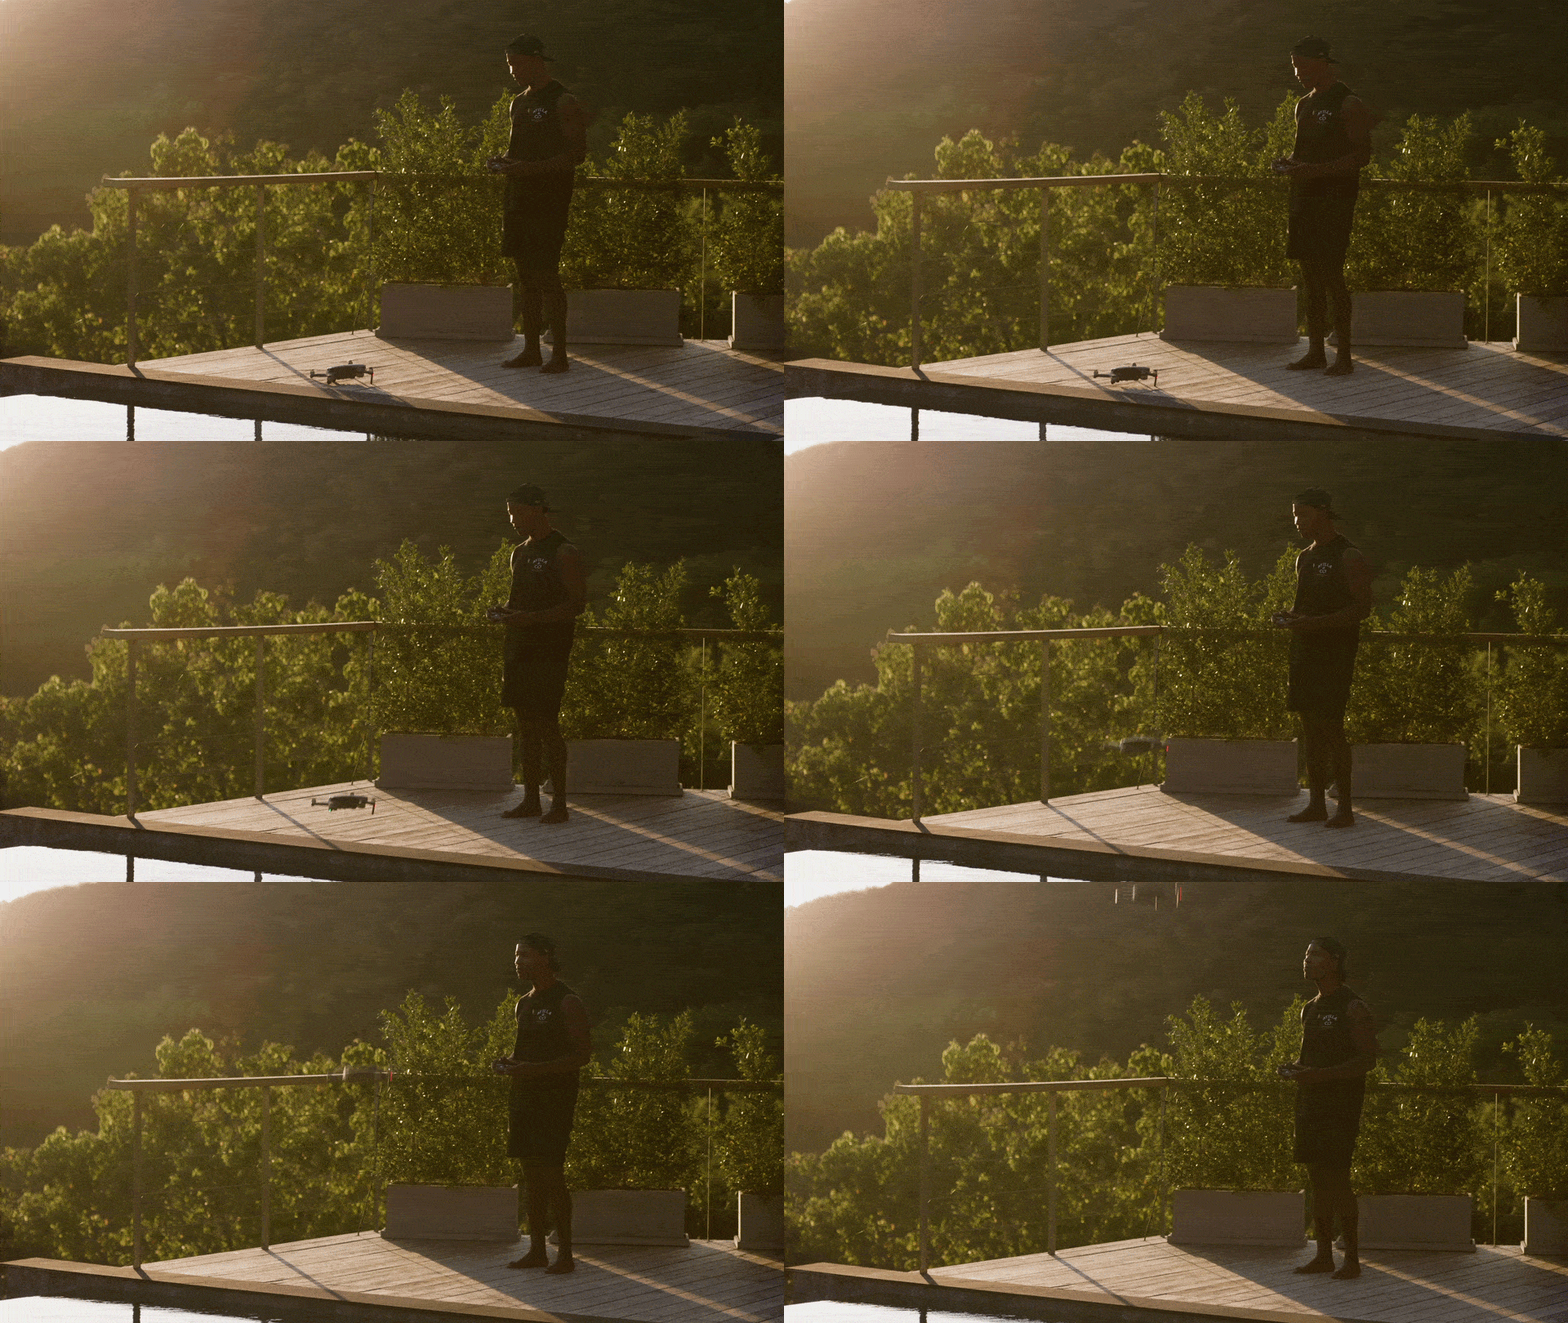
It’s all in the name and I love to execute this drone shot! For this shot, you have to fly your drone passing by your subject. Your subject can be everything, a building, river, car, or person. It doesn’t matter if you pass it from the side, front, back, or above. You can even pass the subject from below, in case it’s a bridge. Make sure the distance between your drone and subject is not too far, but far enough to do it safely.
This shot appears stronger if you do it fast, but we only recommend this if you feel comfortable doing so. When your subject is not moving, you can always speed it up in post-production. But when it does move, you have to fly fast with your drone. Also, you can fly backwards passing your subject. The result is an incredible reveal shot with a lot of motion that will surprise your audience.

An high speed fly by creates a lot of motion blur
Drone shot 2: Tilt reveal
To perform this shot, you start flying your drone forward or backward with your camera facing down. The best way to execute is flying close to the surface, so your audience can feel the motion and speed. Then slowly move your camera up by tilting it up to reveal your subject.
For example, when you fly over a lake you start flying forward or backward with your camera facing down, so you only see the water. Continue flying at the same speed and tilt your camera up, to reveal a majestic building standing across the lake.

Start flying your drone forward or backward with your camera facing down

Then slowly move your camera up by tilting it up to reveal your subject
Drone shot 3: The orbit
The Orbit is used to make a subject important and show it from all sides. To master this movement manually, it takes some practice.
If you still have to grow your skills in this but want to perform it perfectly, you’ll be happy to find the intelligent flight modes in your drone. Most drones (the ones from DJI for sure) have the flight mode “point of interest” which will do the job for you.
So in practice, you have to frame your subject with your drone and orbit around it. With the flight modus, you can select the radius you want your drone to hold, while orbiting around your subject. Imagine a shot with your character standing on a mountain peak and you orbit your drone around him or her. This will help your audience to focus on the character and it expresses the achievement of reaching the peak.
You aren’t supposed to use the full 360 circle when editing your video. That might become boring for the audience. Just use a part of it, keep the subject in the middle, to focus on its importance or beauty. And when you do record a full circle you can choose the part which looks best!

Frame your subject with your drone and orbit around it

Orbiting around your subject unveals a change of background what makes the shot interesting to watch
Drone shot 4: The unveiling
This shot is quite simple to execute and when performed properly, it can have a very powerful effect. This is basically a combination of the “Fly By” and “The Tilt Reveal”.
The key is to start flying low, so you only see the foreground. Then you begin increasing in altitude until you can see the entire background layer(s).
For example, you can fly in front of trees to create a powerful motion feeling and then unveil a huge mountain behind the trees in the background. You can make this shot more challenging by tilting up like “The Tilt Reveal” while flying pass by the foreground and increasing in altitude. And when you find some nice light of the sun in front of you during sunrise or sunset, it makes the shot even more stunning!

Flying backwards closely passing your subject can also be the start of an unveiling drone shot

Keep flying backwards and the unveiling of an impressive subject will surprise your audience
Drone shot 5: The tracking or follow shot
You can compare this shot a bit with the “gimbal follow shot”. But a drone can track or follow the subject on higher altitudes, above water or rough surface. This is where you can’t make smooth shots with your gimbal. A big advantage of a drone is it can reach a far higher speed you can walk or run with your gimbal. And it will be super smooth!
You can track or follow your moving subject from every side you want. The goal is to continue tracking it while keeping it in the same position on your screen. For example, you can track a person walking, a car riding on a road between the rice fields of Bali or a boat that is heading out to the open ocean.

You can track or follow your subject on higher altitudes with a drone

In this shot I was able to keep Ilse in the shot while she was changing levels going down the stairs
These are my 5 favorite drone videography shots to execute.
I hope this extensive guide with a lot of drone filming tips will help to improve your drone videography skills! Flying your drone and executing shots is so much fun. And great-looking aerial shots will level up your drone videography a lot.
Do you need more information about drones? Read my other blogs here:

Thanks for sharing that flying in front of things can help make a big reveal more interesting. I’m trying to shoot a video for my city’s tourism department, but I’ve never done aerial work. I’ll have to contact a professional who can help me figure it out.
Awesome article…
Found this via some aggressive searching. I have 40 acres of rolling Ozark property and I’m having trouble conveying the multiple elevation changes, around 200′ from max to min. It seems cameras tend to flatten the verticality of a landscape, making mountains that seem looming to the naked eye become far less impressive. Any ideas on how to convey or exaggerate the vertical changes?
Hi, with a photo you can do this in the edit by squeezing the image a bit with the aspect tool, or transform it vertically. Video you can do the same but it’s harder.
Im using the Mavic 3 now which has zoom lens so you can get the background even closer and bigger.
I liked that you pointed out that when you are using a drone to film things you might want to do a full 360 circle. That is great for me to understand because I would love to get some footage for my parent’s rental vacation property. That seems like it could help attract more people to their rental because they can see the beauty around the area of the home as well.
Thanks Emily, that’s great to read. For sure a 360 circle of your parents rental property will show people the surroundings which makes a great impression most of the time!